Imagine this:
- One of your critical interfaces goes down (or is mistakenly shut down) one evening
- You immediately receive a phone call alerting you
- You press a button on your phone and the interface starts back up again
- You continue <insert happy activity here> without having to run back to the office…
Does that sound like fiction to you? It’s not, and today I’m going to show you how it’s done!
Watch the video above to see all the steps required, then grab the project files to setup your own implementation.
Ready to try for yourself?
Prerequisites:
Unfortunately, there are a few gotchas/must haves if you want to set this up yourself…
- You must have a working copy of IGUANA. Sorry, other engines just won’t cut it.
- The web service URL you create must be publically accessible
- You’ll need to create a free (or paid) Twilio account.
Once you’re sure you have those three things, you’re all set. Just follow the instructions below and you’ll be on your way to a (slightly more) automated life.
Note: In order to provide a generic, extendible version of this solution, I have modified the scripts from the video to include placeholders and other parameters.
Step 1: Setting up the web service channel
The first thing you’ll need to do is create the web service that will receive requests from Twilio. To do this, simply:
- Set up a channel with From HTTPS –> To Channel components
- Set the URL path (Source > URL Path) to “twilio”.
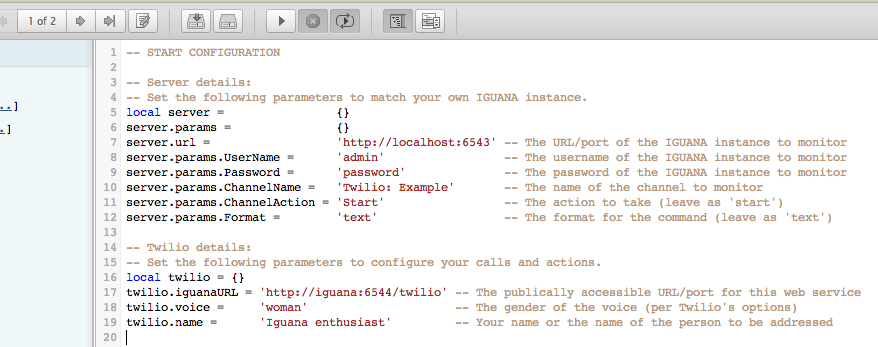
- Go to the translator (Source > Edit Script) and import this project: Twilio__Web_Service_From_HTTPS
- Complete the “Configuration Details” at the top of the script to match your setup. (See the screenshot below)
- Save a milestone
STEP 2: Setting up the monitoring channel
Next up you’ll need to create the channel that is responsible for monitoring your interface(s). To do this:
- Set up a channel with From Translator –> To Channel components
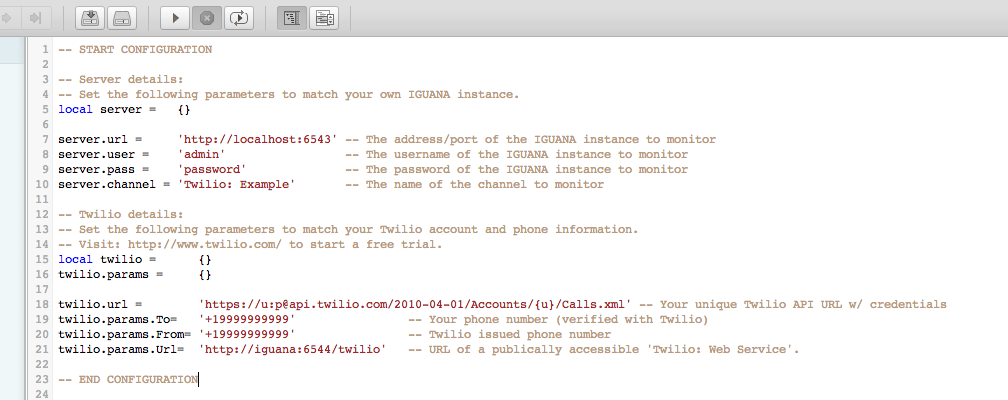
- Go to the translator (Source > Edit Script) and import this project: Twilio__Monitor_From_Translator
- Complete the “Configuration Details” at the top of the script to match your setup. (See the screenshot below)
Be sure you use the full path / port of the web service you created in step #1 - Save a milestone
Step 3: You’re all done…
That’s all there is to it. Once you’ve created and configured your channels, you’re all set. All that’s left is for you to start both channels and then stop the interface you are monitoring. As soon as you do this, you should receive a call from Twilio asking you whether or not you’d like to take action.
I hope you enjoyed this fun little example, and as always: If there’s something you’d like to see accomplished with IGUANA, just leave a comment below describing your issue and I’ll do my best to demonstrate how to (or how not to) go about it.
Kind regards,
-Art Harrison


